Privacy screens
Specifying aluminium privacy screens: sightlines, infill and supporting structure
A privacy screen is usually drawn as a panel on an elevation. Its effectiveness depends on a three-dimensional relationship: where someone is looking from, what can be seen, and how the screen sits between them. Resolve that relationship before choosing the infill.
Describe the view you need to screen
Start with a plan and a section showing the two spaces involved. Is the concern a view between adjoining balconies, a window overlooking another property, or an exposed balcony edge? Mark the relevant window, doorway or occupied area and the view that needs to be interrupted. A description such as “privacy to the western balcony boundary” becomes much more useful when the drawing shows the neighbouring opening and the change in level.
Add the approved planning requirement where one exists. Screen height, transparency and overlooking provisions depend on the development, jurisdiction and approval pathway. The project designer should identify what applies before the fabrication brief is finalised. A product image or a standard panel height cannot establish that the proposed location meets the requirement.
Also state what should remain: an outlook, borrowed light, ventilation or access to an openable window. Recording these priorities makes it possible to compare screening arrangements against the whole brief rather than simply selecting the most opaque panel.
Choose the application before the infill
Environ’s privacy-screen range starts with balcony dividers, window screens and screens coordinated with balustrades. Each brings a different supporting condition. A divider between balconies has to meet the floor and adjoining structure; a window screen has to work around the opening; a screen at a fall edge may be part of a safety-critical assembly.
The available arrangements are a starting point for coordination. Their dimensions, supports and connections are developed around the actual project. The privacy-screen product page sets out the individual configurations and their reference information.
Scroll table horizontally
| Application | Available starting arrangements | Resolve early |
|---|---|---|
| Balcony separation | Tile-interface perforated or flat-sheet dividers; base-plate post-mounted dividers | Finished floor build-up, structural anchorage, wall connections and drainage |
| Window privacy | Post-mounted or bracket-mounted screens | Reveal and sash clearance, stand-off, structural connections and cleaning access |
| Balustrade integration | Perforated screen with an angled upper section | Complete barrier role, geometry, wind actions and the supporting assembly |
Keep privacy, solar control and access control distinct
A residential balcony divider and a screen beside a commercial entrance can look similar while serving different briefs. Describe whether the aim is to interrupt an overlooking view, shade an occupied area, define an architectural edge or restrict access. If several functions are required, record each one rather than assuming that a privacy panel delivers them all.
For a commercial frontage, the appearance may also need to relate to adjacent doors, signs, fencing or façade modules. Supply the relevant elevation and finish references so that the screen can be considered as part of that composition. Aesthetic consistency does not establish a security or performance rating.
Where access restriction, forced-entry resistance, solar performance or a safety-barrier function is required, have the relevant project team define the criteria and evidence. The screen arrangement then needs review against that specific function. Do not infer tested security, adequate ventilation or compliant emergency access from a photograph or an infill description.
Compare what the infill does at the actual viewing angle
Flat aluminium sheet blocks a view through the sheet itself, but the perimeter and the junctions between panels remain part of the assessment. A solid panel can still leave a direct view around its end or underneath it. Draw the whole arrangement, including where it meets a wall, floor or adjacent barrier.
Perforated sheet offers a filtered appearance. Hole pattern and open area are useful product descriptors, but they do not establish privacy on their own. The line through a hole, the distance between the viewer and panel, lighting conditions and the complete panel layout all influence what is visible. Assess the proposed infill in its intended setting.
Horizontal profiles introduce another set of variables: profile depth, blade angle and clear spacing. These need to be considered together. A view straight through the screen on an elevation may differ from a view downwards from a neighbouring window or diagonally along a balcony.
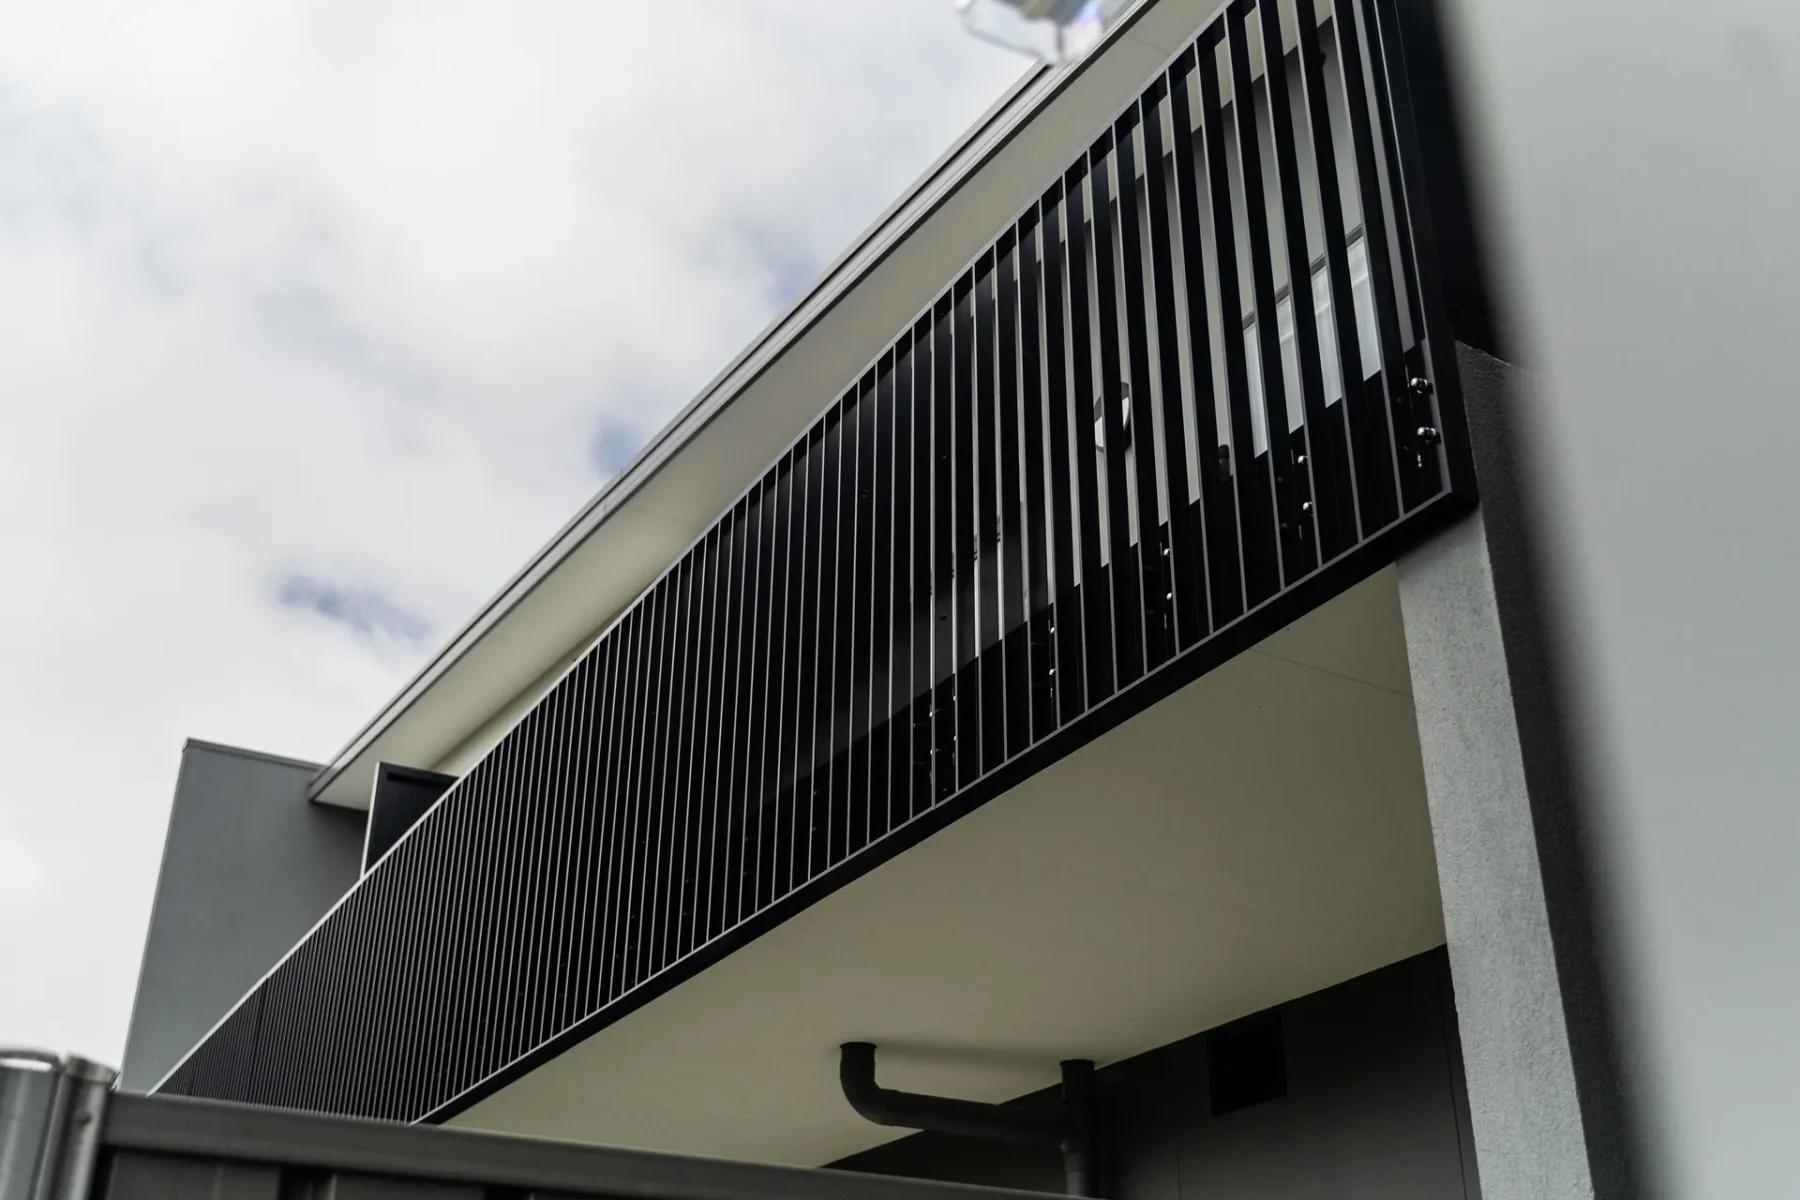
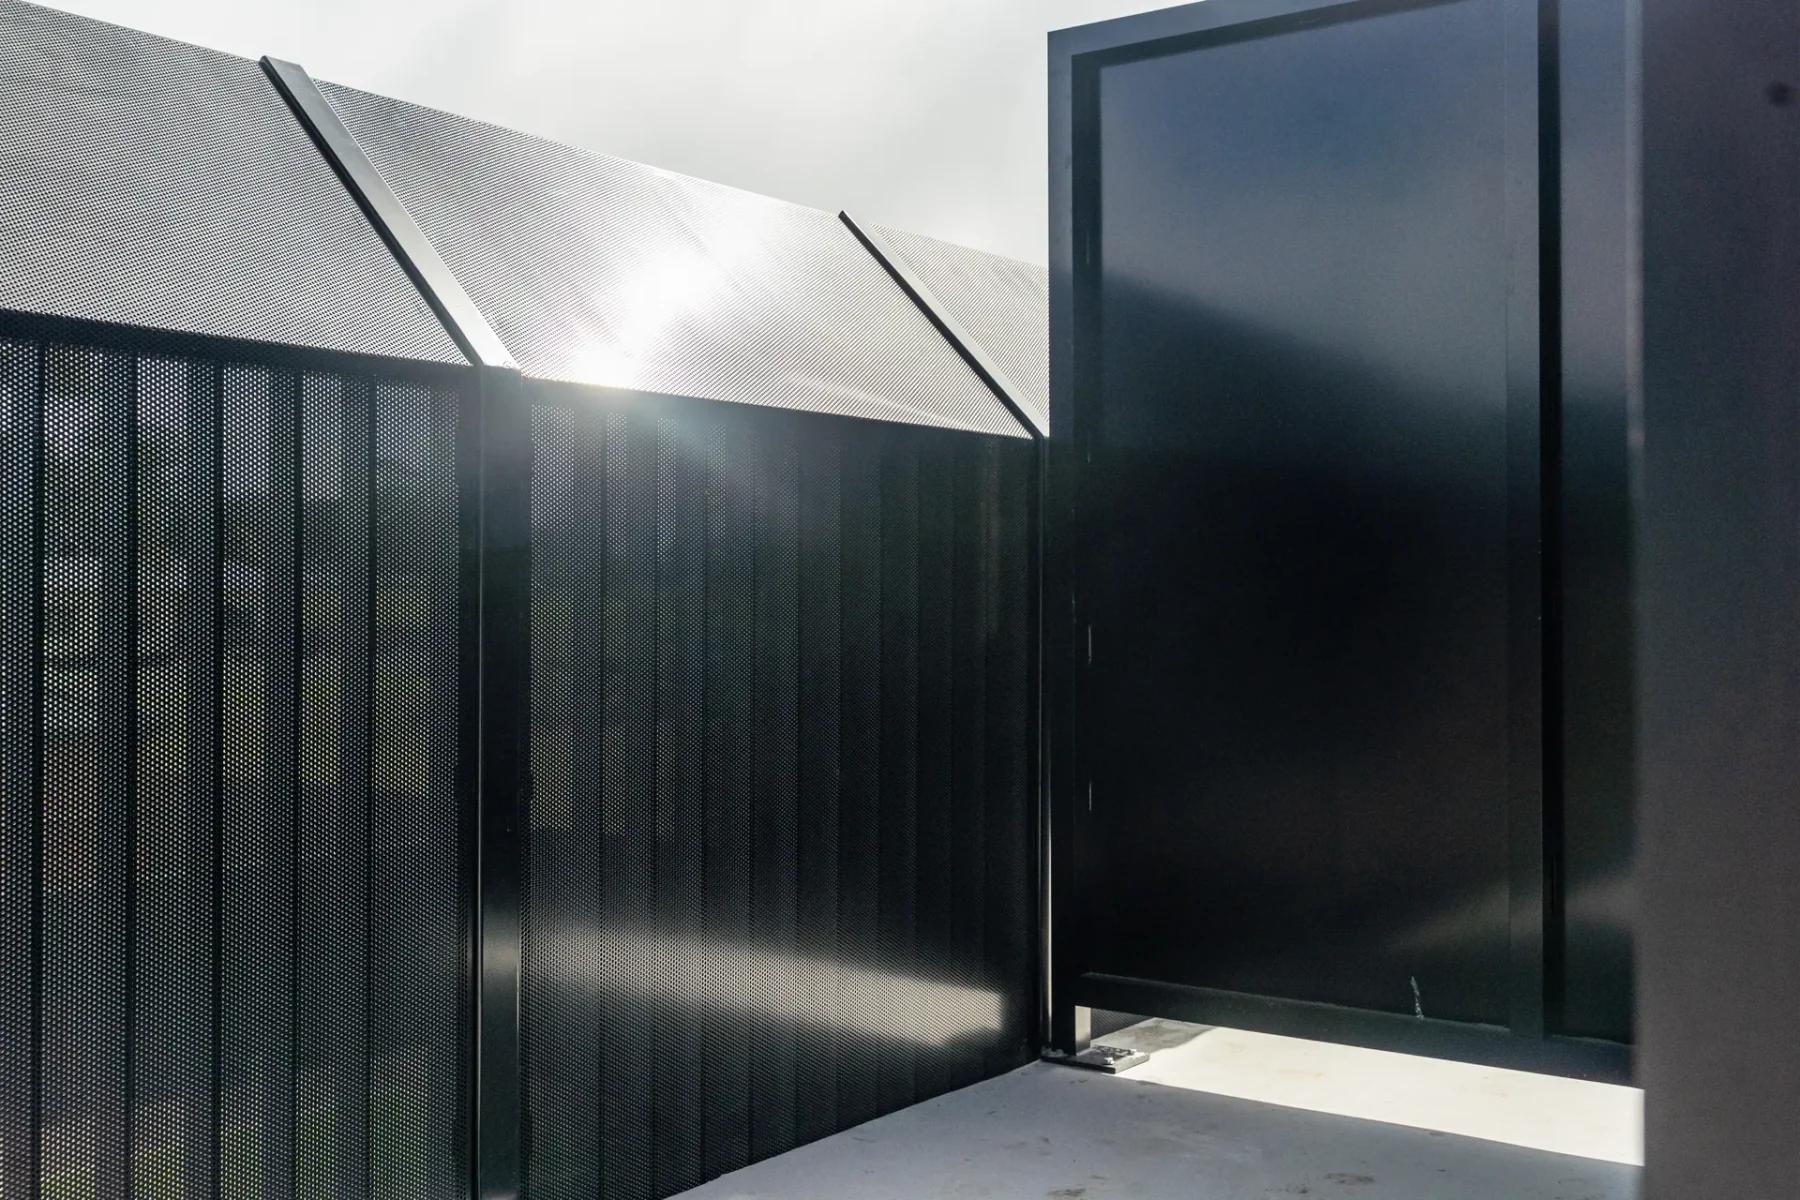
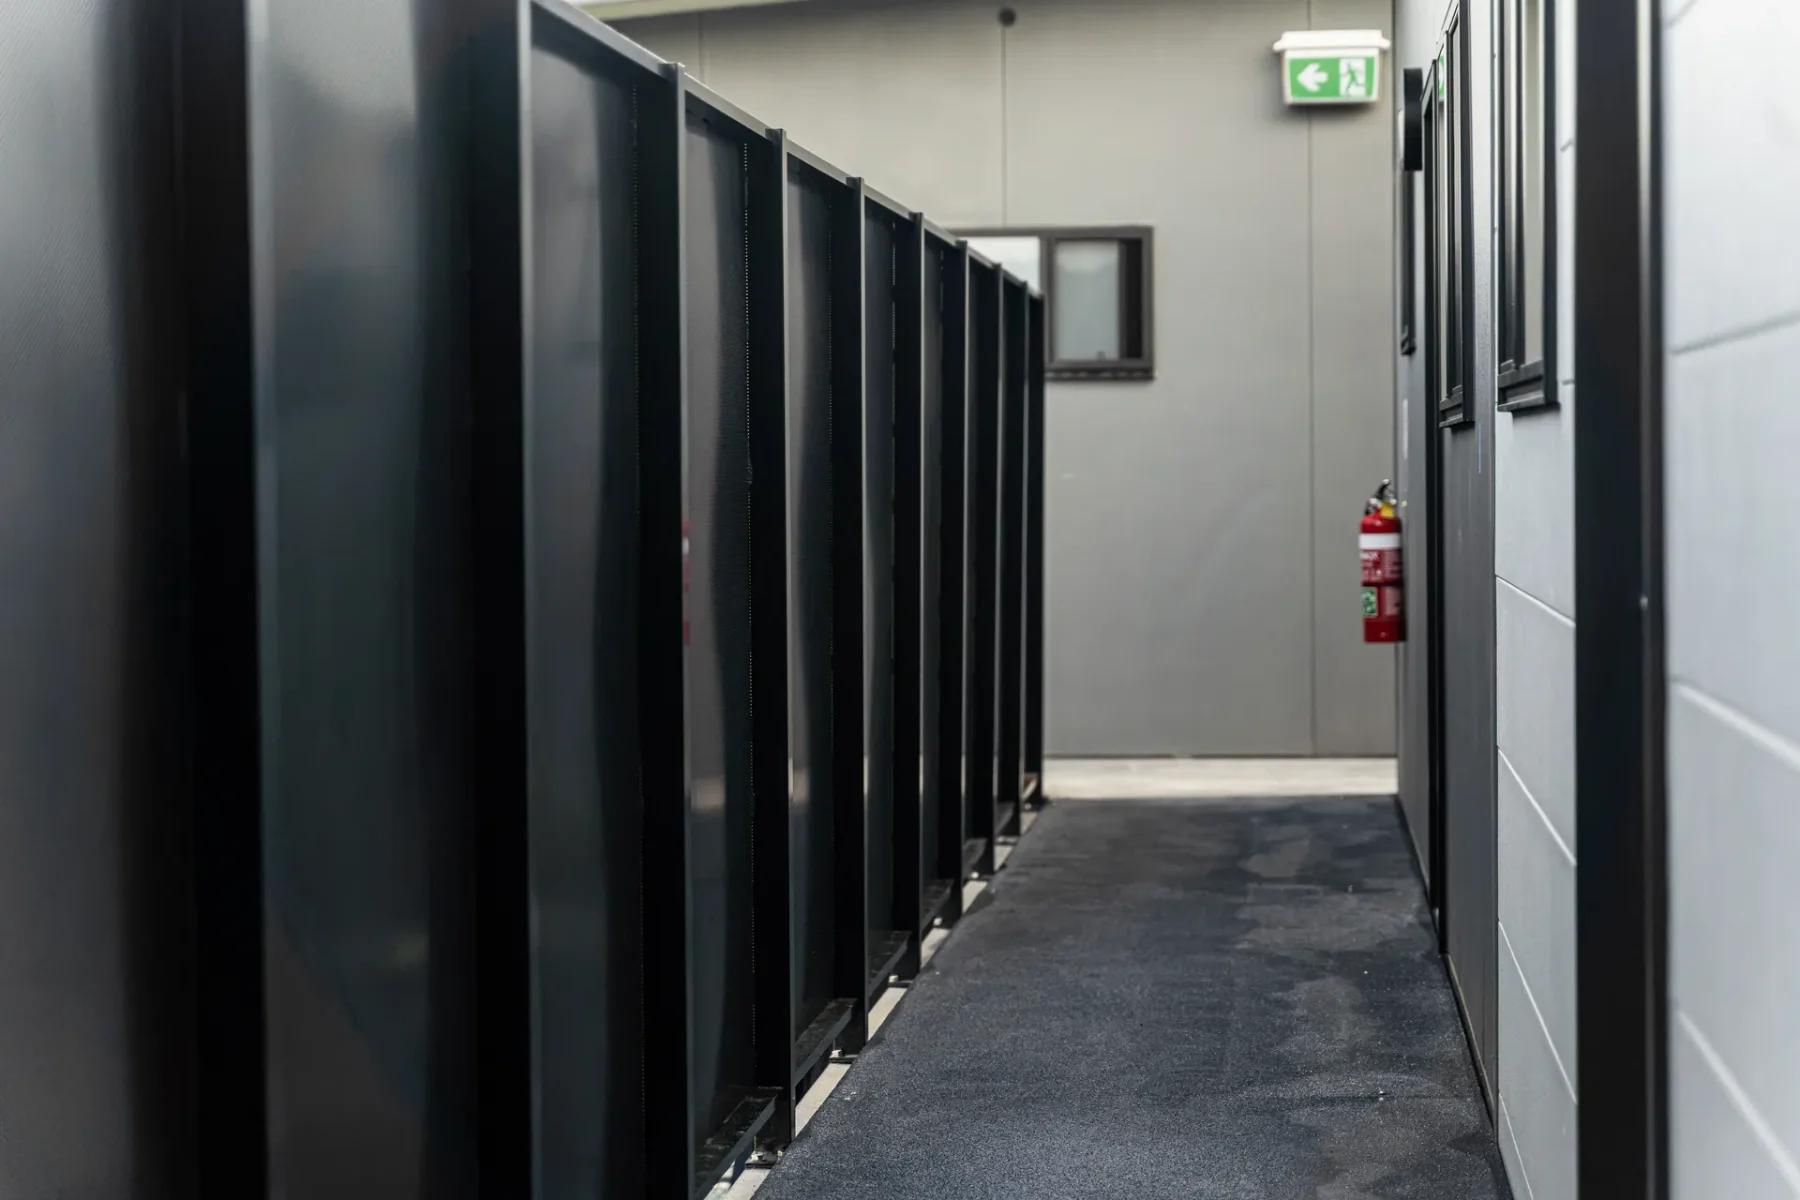
The Kilmore photographs show how different screen surfaces and junctions appear in a completed setting. They are visual references; they do not establish a universal privacy rating or a fixing specification for another site.
Test an angled sightline before fixing the panel size
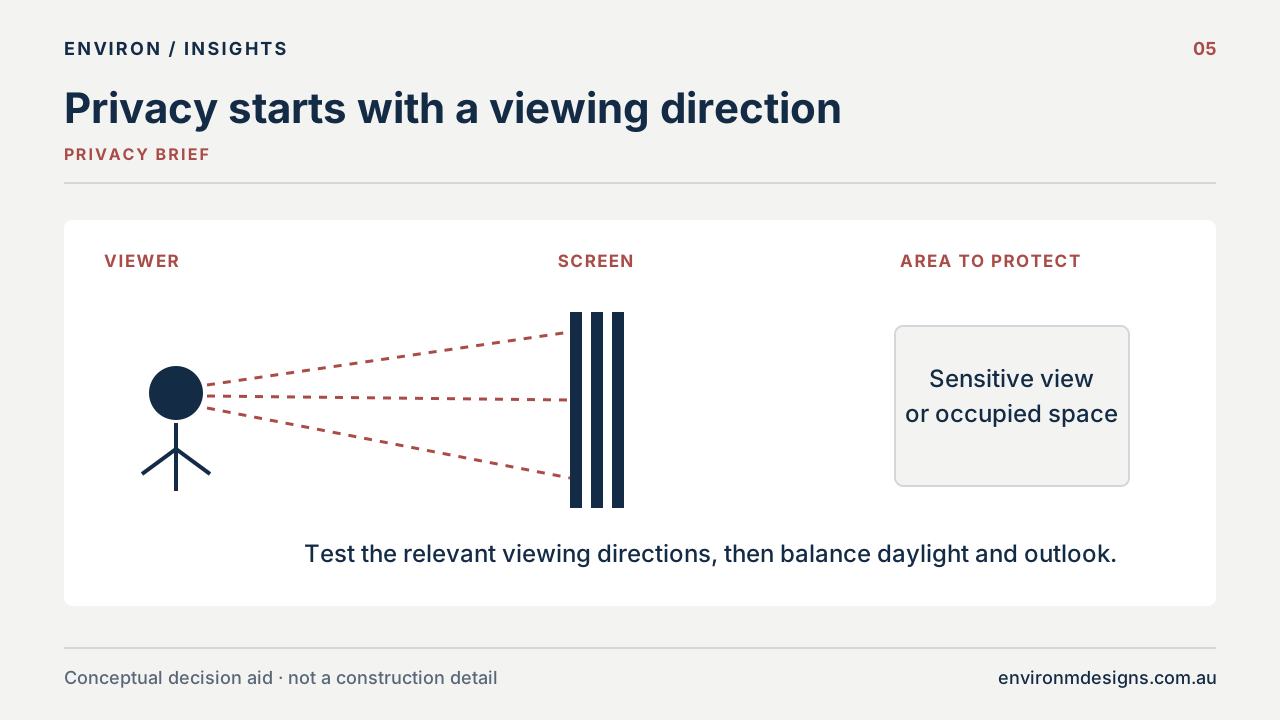
Consider an illustrative balcony brief: the panel looks opaque when viewed directly from the adjoining balcony, but a neighbouring window sits higher and further to one side. The unresolved question is whether the upper or end junction leaves a view into the occupied area. Increasing the panel’s opacity may do little if the view passes around its edge.
A useful drawing test follows the relevant view in plan and section. Identify the source of the view, the area to be screened and the complete screen perimeter. Then test a revised height, return, position or infill against the same view. This is a way to make the design question explicit; the project’s planning assessment still determines the applicable criteria.
Keep these diagrams with the screen schedule. They explain why one panel may require a different arrangement from another that looks similar on the elevation, and help avoid an important design assumption being lost when the package reaches fabrication.
Connect the screen to structure, not just the finished surface
Show both structural and finished floor levels. Tiles, screed and pedestal pavers describe the surface relationship, but they are not the structural anchoring substrate. A tile-interface divider still needs its lower fixing assembly, structural connection, access and drainage resolved beneath or beside the finish.
For post-mounted and bracket-mounted arrangements, identify the actual support behind the visible façade. Include the available fixing zone, the wall or slab build-up, and any constraint that affects access to the connection. Member sizes, posts, brackets, anchors and their supporting structure are reviewed for the project’s wind actions.
Coordinate the waterproofing interface before finishes are installed. Environ’s standard screen supply excludes waterproofing and caulking; these interfaces need an agreed detail and responsible contractor in the wider package. A late decision about where a base plate sits can affect more than the screen itself.
Keep the barrier, window and shading functions clear
A privacy screen beside a separate balustrade, a new integrated barrier and an addition to an existing balustrade are different situations. State which one is proposed. Where a screen forms part of a required barrier, the complete assembly needs review for the applicable height, openings, climbability and actions. An existing balustrade should not be assumed capable of supporting added screening.
At windows, show the sash type and movement as well as the opening size. The screen position needs to allow the required operation and cleaning access, with ventilation, daylight and any nominated emergency access or egress reviewed by the project designer.
Privacy and solar control can overlap, but they begin with different questions. If a particular shading result is required, include that brief separately and coordinate it with the façade design. Our guide to external aluminium sunshades explains how orientation and the required function shape that discussion.
Compare screen quotations against the same scope
Panel sizes and quantities are only part of a screen price. The proposed infill, perimeter treatment, posts or brackets, supporting connections and finish help define the fabricated package. Corners, changes in level, access constraints and differences between repeated panels should remain visible in the schedule.
State which work the quotation should include and which work sits elsewhere. Drawing review, fabrication, coating, freight and installation can form different agreed scopes. Waterproofing, caulking, structural supports, access equipment or other trades should not disappear into an assumption that the screen supplier must include everything.
For a residential project, this might mean separating a balcony divider from an adjoining barrier that remains in another package. On a commercial site, staged access or installation around occupied areas may need to be raised with the project team. These are scope questions to resolve, not reasons to assume that one square-metre allowance covers every application.
Use current drawings and the same finish and quantity basis when comparing offers. If a design alternative is proposed, identify which privacy, appearance and support requirements must remain satisfied. Send that brief for a project quotation rather than relying on an old standard-installation rate.
Send a screen brief that explains the decision
Include the application, site location, plans and sections, approximate panel dimensions, the relevant views and the desired infill. Add structural and finished levels, known supports, window movement and the finish schedule. If the screen has a barrier role or a specific planning requirement, make that visible on the same package.
Unknown details can remain identified as questions. It is more useful to show an unresolved structural connection than to copy a fixing from an unrelated photograph. Environ can then review the supported options against the project information and clarify what needs to be resolved before fabrication.
Use the quote-request guide to organise the drawings and schedule. The aim is a screen whose visual role, structural connections and site interfaces are understood together.
Reference desk
Sources and further reading
Primary guidance and resources for the decisions discussed in this article. Check the edition and requirements that apply to your project.