Window shrouds · Detailing
Specifying aluminium window shrouds: openings, projections and fixing conditions
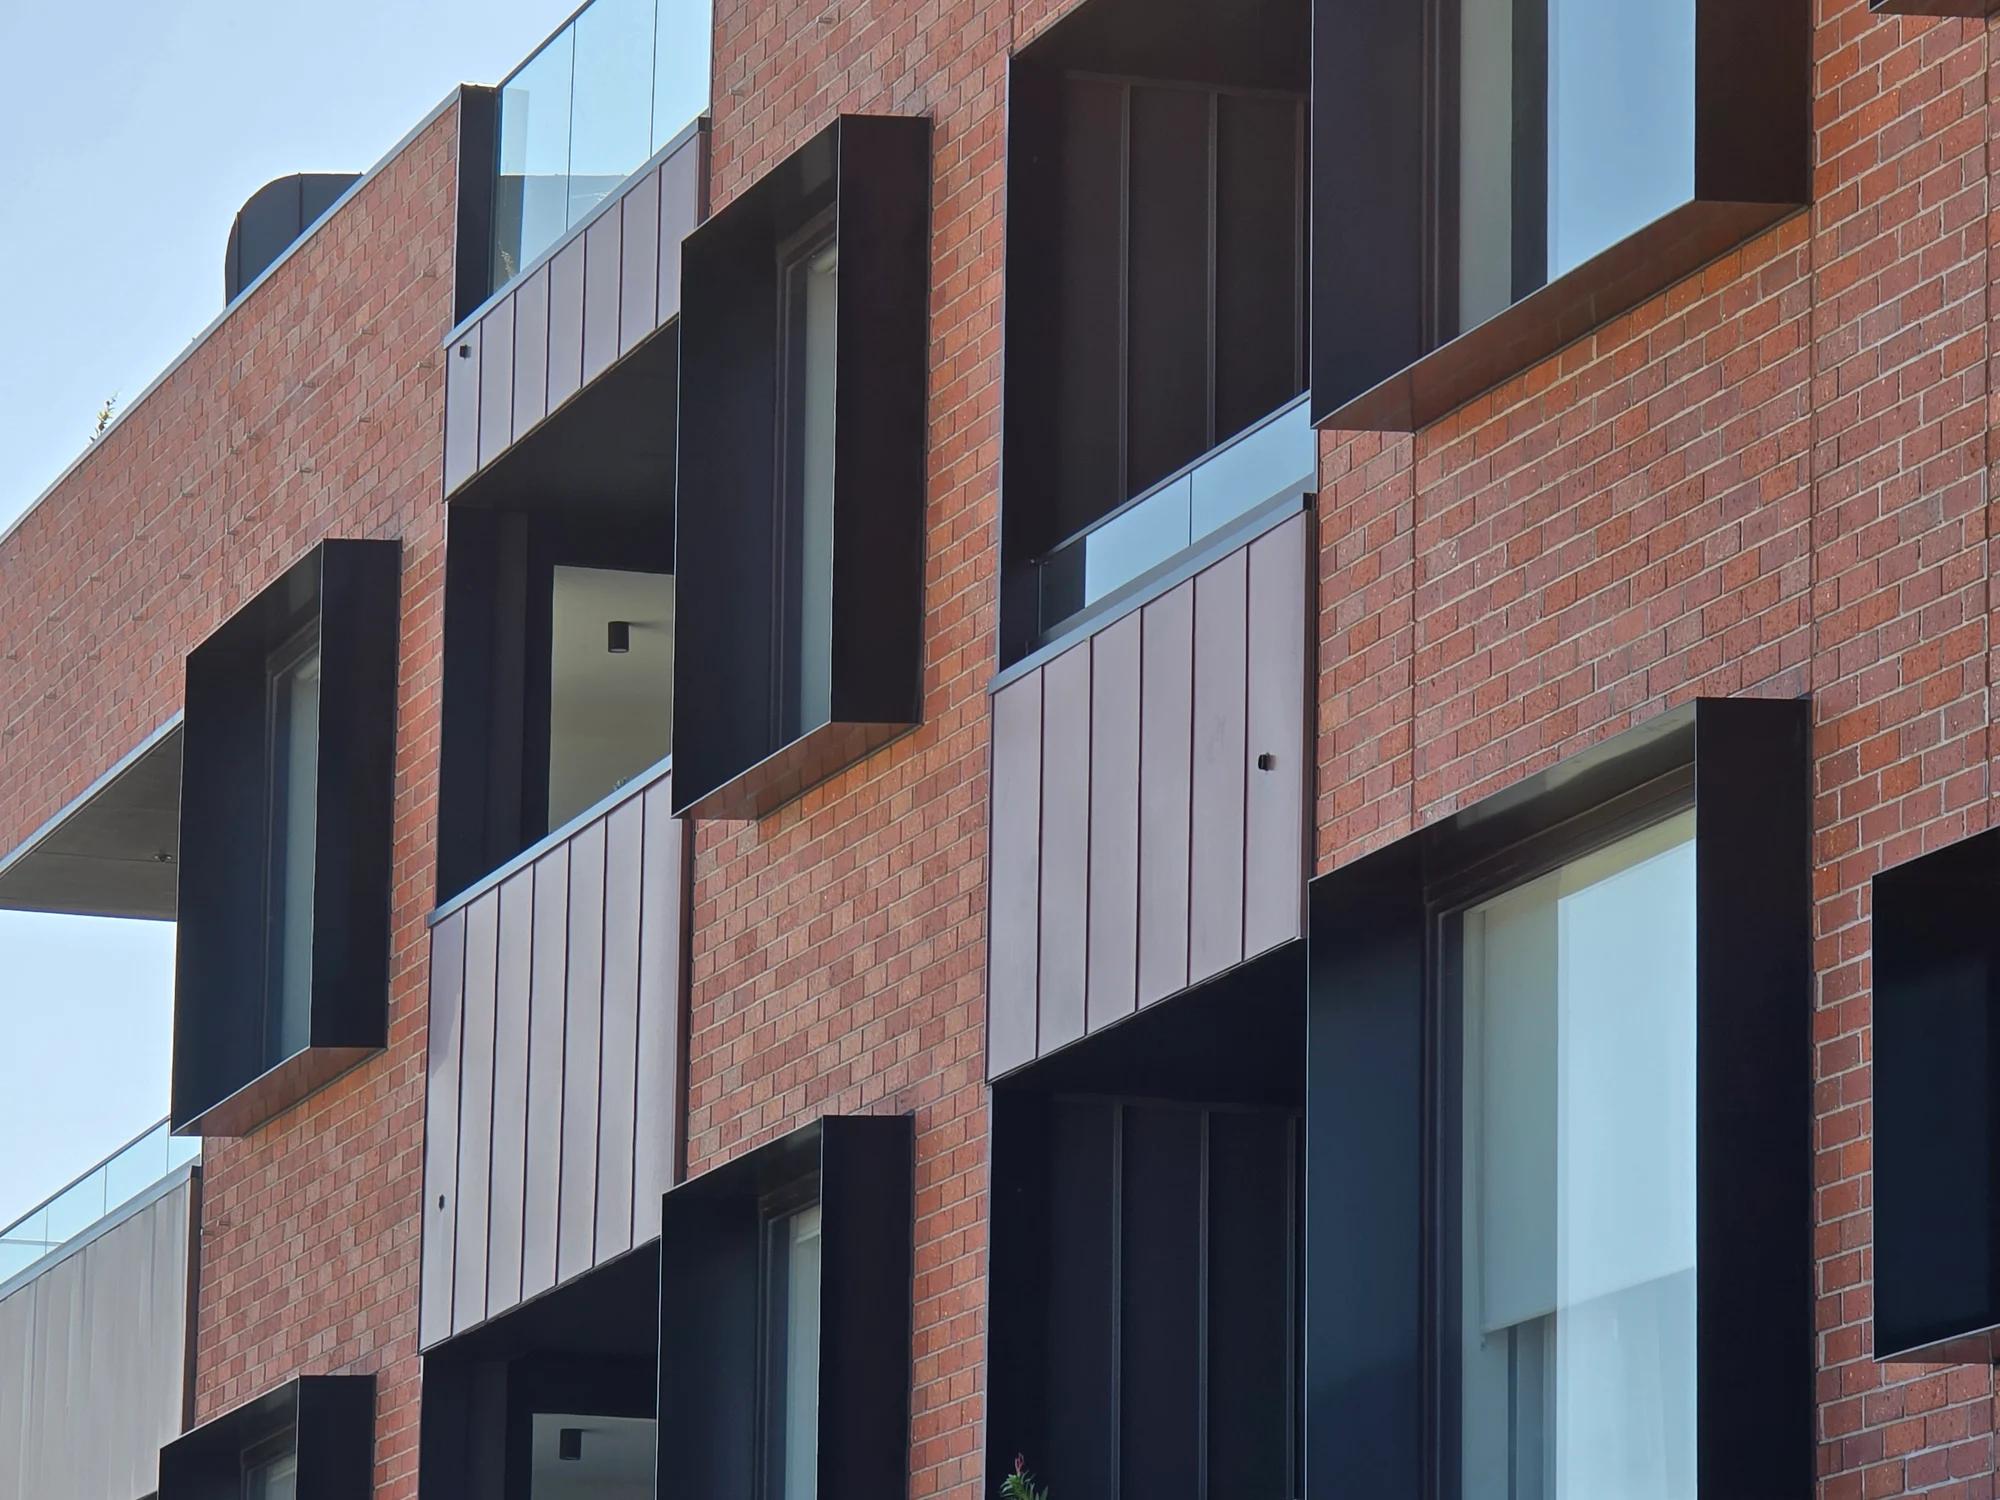
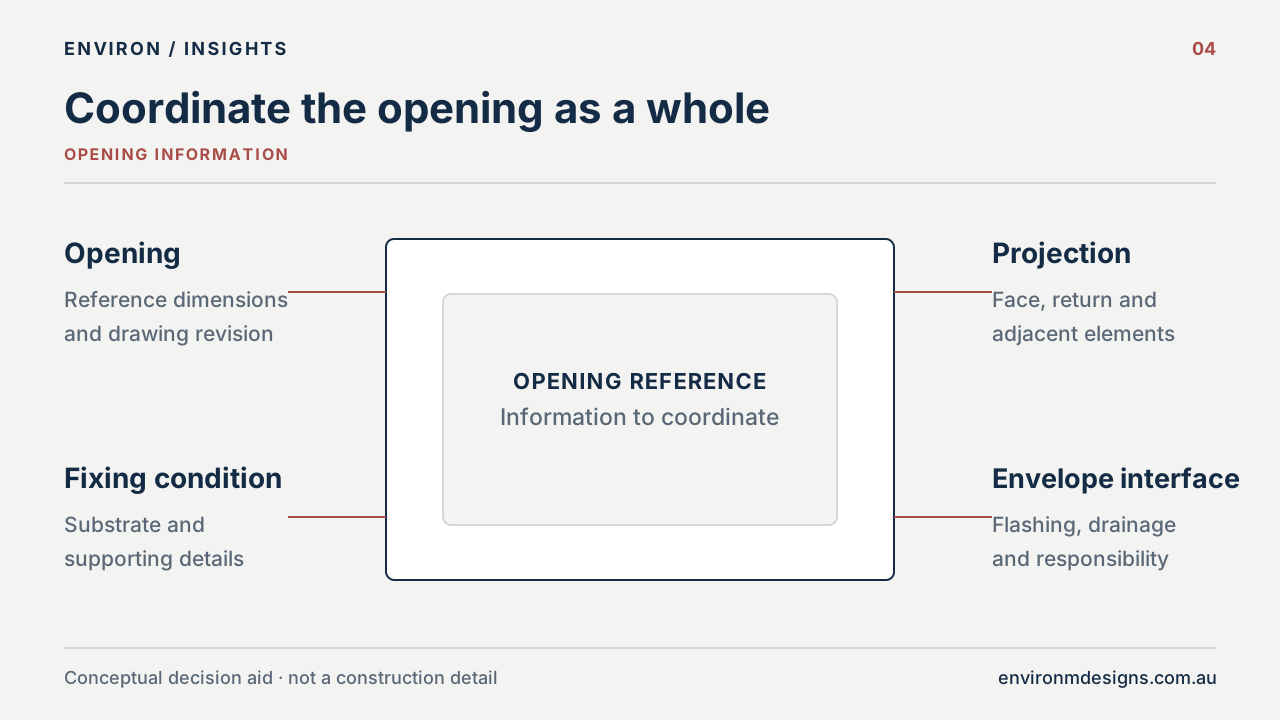
A shroud elevation can look resolved while the opening behind it remains uncertain. Width, height and projection are useful only when everyone knows what they describe. A clear brief connects those dimensions to the wall build-up, fixing access and other elements sharing the opening.
Give the opening a clear reference
Use a type mark that can be found on the elevation, window schedule and shroud schedule. Then define whether the width and height describe the clear opening, window frame, structural opening or overall shroud. A number repeated across documents can still be misleading if each drawing measures a different thing.
Add a section through the façade. It should identify the wall build-up and the proposed relationship between window, shroud and supporting construction. If the project is at an early stage, mark provisional dimensions as provisional and identify the information that will confirm them.
The benefit of a coordinated schedule is that repeated openings can be reviewed consistently while exceptions stay visible. A corner, deeper reveal or adjacent screen may need a separate type even if the visible window dimensions match the rest of the façade.
Scroll table horizontally
| Information | What to make clear |
|---|---|
| Type mark and quantity | Where the opening occurs and how many genuinely identical arrangements are proposed. |
| Width and height | The measured reference: opening, frame or overall shroud. |
| Projection | The reference face from which the outward depth is measured. |
| Form and orientation | Required sides, profile and the side from which the reference is viewed. |
| Fixing condition | Substrate, reveal detail and the access available around the opening. |
| Drawing status | Revision, known site dimensions and items still awaiting confirmation. |
Describe what the shroud is intended to do
A window shroud forms an architectural surround around some or all sides of an opening. Its visible depth, returns and finish contribute to the façade composition. Where solar control is part of the design, its orientation and geometry also need to be assessed against the intended shading brief.
A surround is not automatically a weatherproofing system. A projecting element can affect exposure at the opening, but the window, flashings, drainage and wall interfaces still need their own coordinated design. Do not treat an attractive product render as evidence that those functions have been resolved.
The useful distinction between residential and commercial applications is the actual building brief. Repeated apartment windows may need a consistent type schedule and staged delivery. A single residential feature opening may need careful junction and finish coordination. In either case, establish what the shroud is expected to contribute and what remains with the wider façade design.
Coordinate projection with the whole façade
Projection affects more than the depth of the visible frame. Review the shroud against cladding joints, adjacent walls, balconies, downpipes and any façade access requirements shown in the project documents. A return that appears clear on one elevation may meet another element in section.
If shading is part of the brief, describe the intended function and opening orientation. Choosing a projection for its appearance does not establish a particular solar or thermal result. The responsible design team needs to assess that outcome for the building.
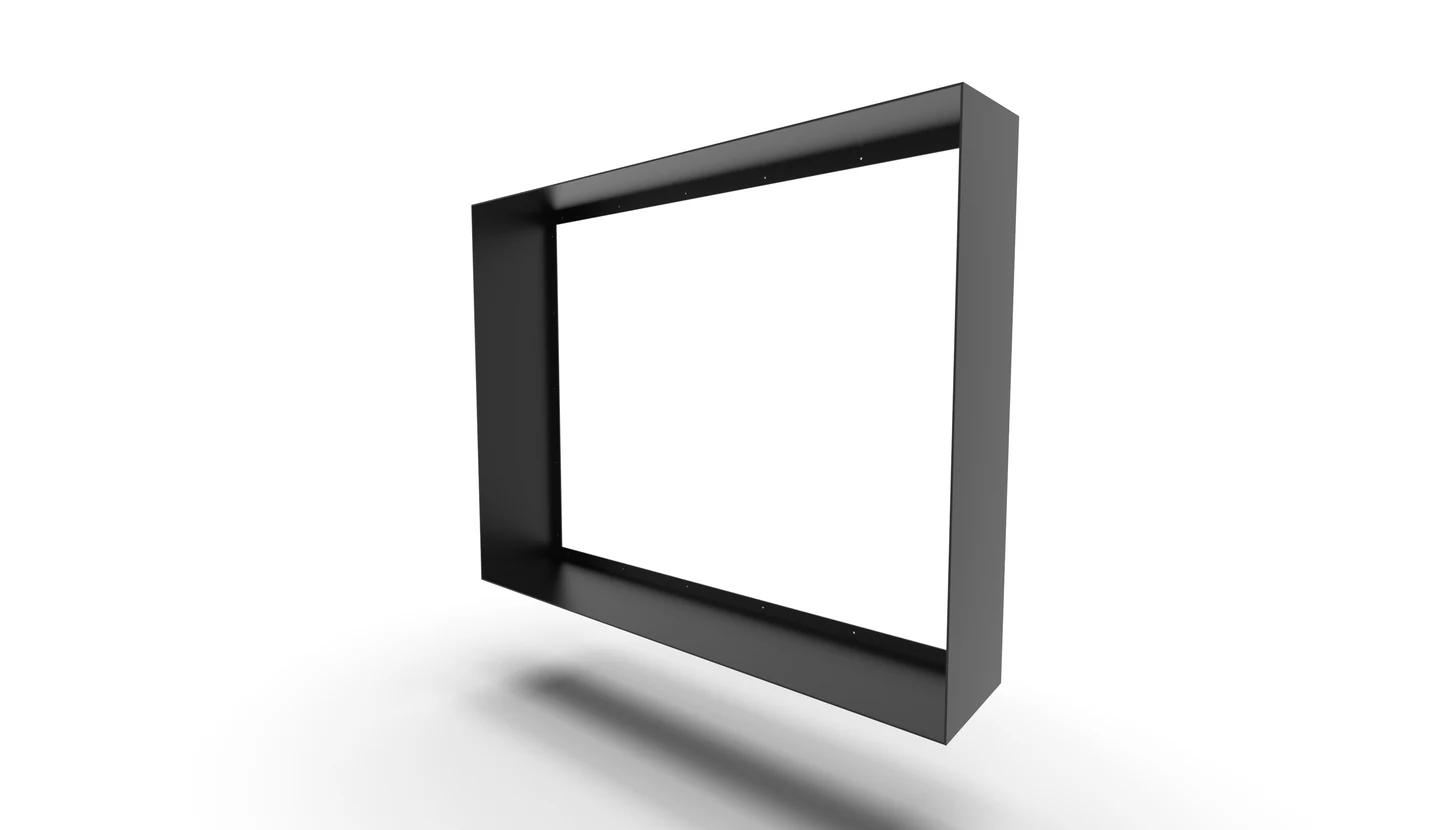
Keep building-envelope responsibilities clear. The shroud interface must be coordinated with the project’s flashing, drainage and waterproofing design. A standard product render shows a reference form; it is not a universal weatherproofing detail.
Choose a fixing condition that can be reached
Environ’s internal-flange reference places the flange within the shroud opening and requires fixing access through the opening. The external-flange reference places it outside the shroud perimeter and requires perimeter access. An inside-frame shroud sits within the prepared opening or surround.
Those distinctions make the stage of the wall build relevant. Show which surfaces will be accessible when the shroud is positioned and fixed, as well as the underlying substrate. If access will change as cladding or internal finishes progress, raise that sequence with the site team before the detail is approved.
Where the interface remains unresolved, include the available section and ask Environ to review the starting condition. There is no need to choose a fixing label simply to complete an enquiry. “Recommend after drawing review” is more useful than a confident selection based on appearance alone.
Record form, profile and construction separately
A full surround, three-sided form, two-sided form or canopy describes which sides are present. Rectangular, trapezoidal or rotated trapezoidal describes the profile reference. Modushield or fully welded describes the construction route. Keeping these as separate schedule fields makes a change easier to follow.
For asymmetric or rotated arrangements, identify the view and orientation directly on the drawing. Avoid relying on “left” or “right” without a common viewpoint. Use an elevation or labelled reference so the manufacturer and site team are discussing the same geometry.
The modular-versus-welded guide covers the assembly and supply decision. Here, the aim is to give the selected route an unambiguous opening detail. Final dimensions and geometry are reviewed against the project drawings.
Build the budget around a defined assembly and scope
A useful shroud price starts with the opening types, dimensions, quantities and construction route. Projection, returns, corners, unusual shapes and the selected finish all help define the fabricated assembly. Keep genuine repeated types separate from exceptions so the quotation describes the work that is actually required.
Compare the complete proposed scope: drawing review, fabricated components, coating, packing, freight, unloading and any agreed site work. Supply-only and installed prices are not interchangeable. Large completed frames and smaller modular components can raise different transport, handling and assembly questions; their total project cost needs a like-for-like review.
If an alternative is requested to suit a budget, identify the outcome that must remain. A change to projection, finish or construction route may also change appearance, shading, access or the envelope interface. Record the proposed change against the type mark and have the relevant design decisions reviewed before treating it as an accepted saving.
There is no universal current square-metre rate in this guide. Send the proposed arrangement and project location for a scoped quotation, using the quote-request guide to make the information comparable.
Show an internal screen as part of the opening
Optional screening should be included in the opening brief rather than added as a note after the shroud is selected. Environ’s Privacy Shroud Screen uses vertical full-height blades. Its Sunshade Shroud Screen places horizontal blades across the upper opening, while the Double Shroud Screen uses horizontal blades across the upper and lower opening.
Explain why the screen is needed and what the design team has established about sightlines, shading or other project requirements. Blade spacing, fixing and structural requirements are coordinated for the intended arrangement. A photograph or open-area description cannot establish those outcomes on its own.
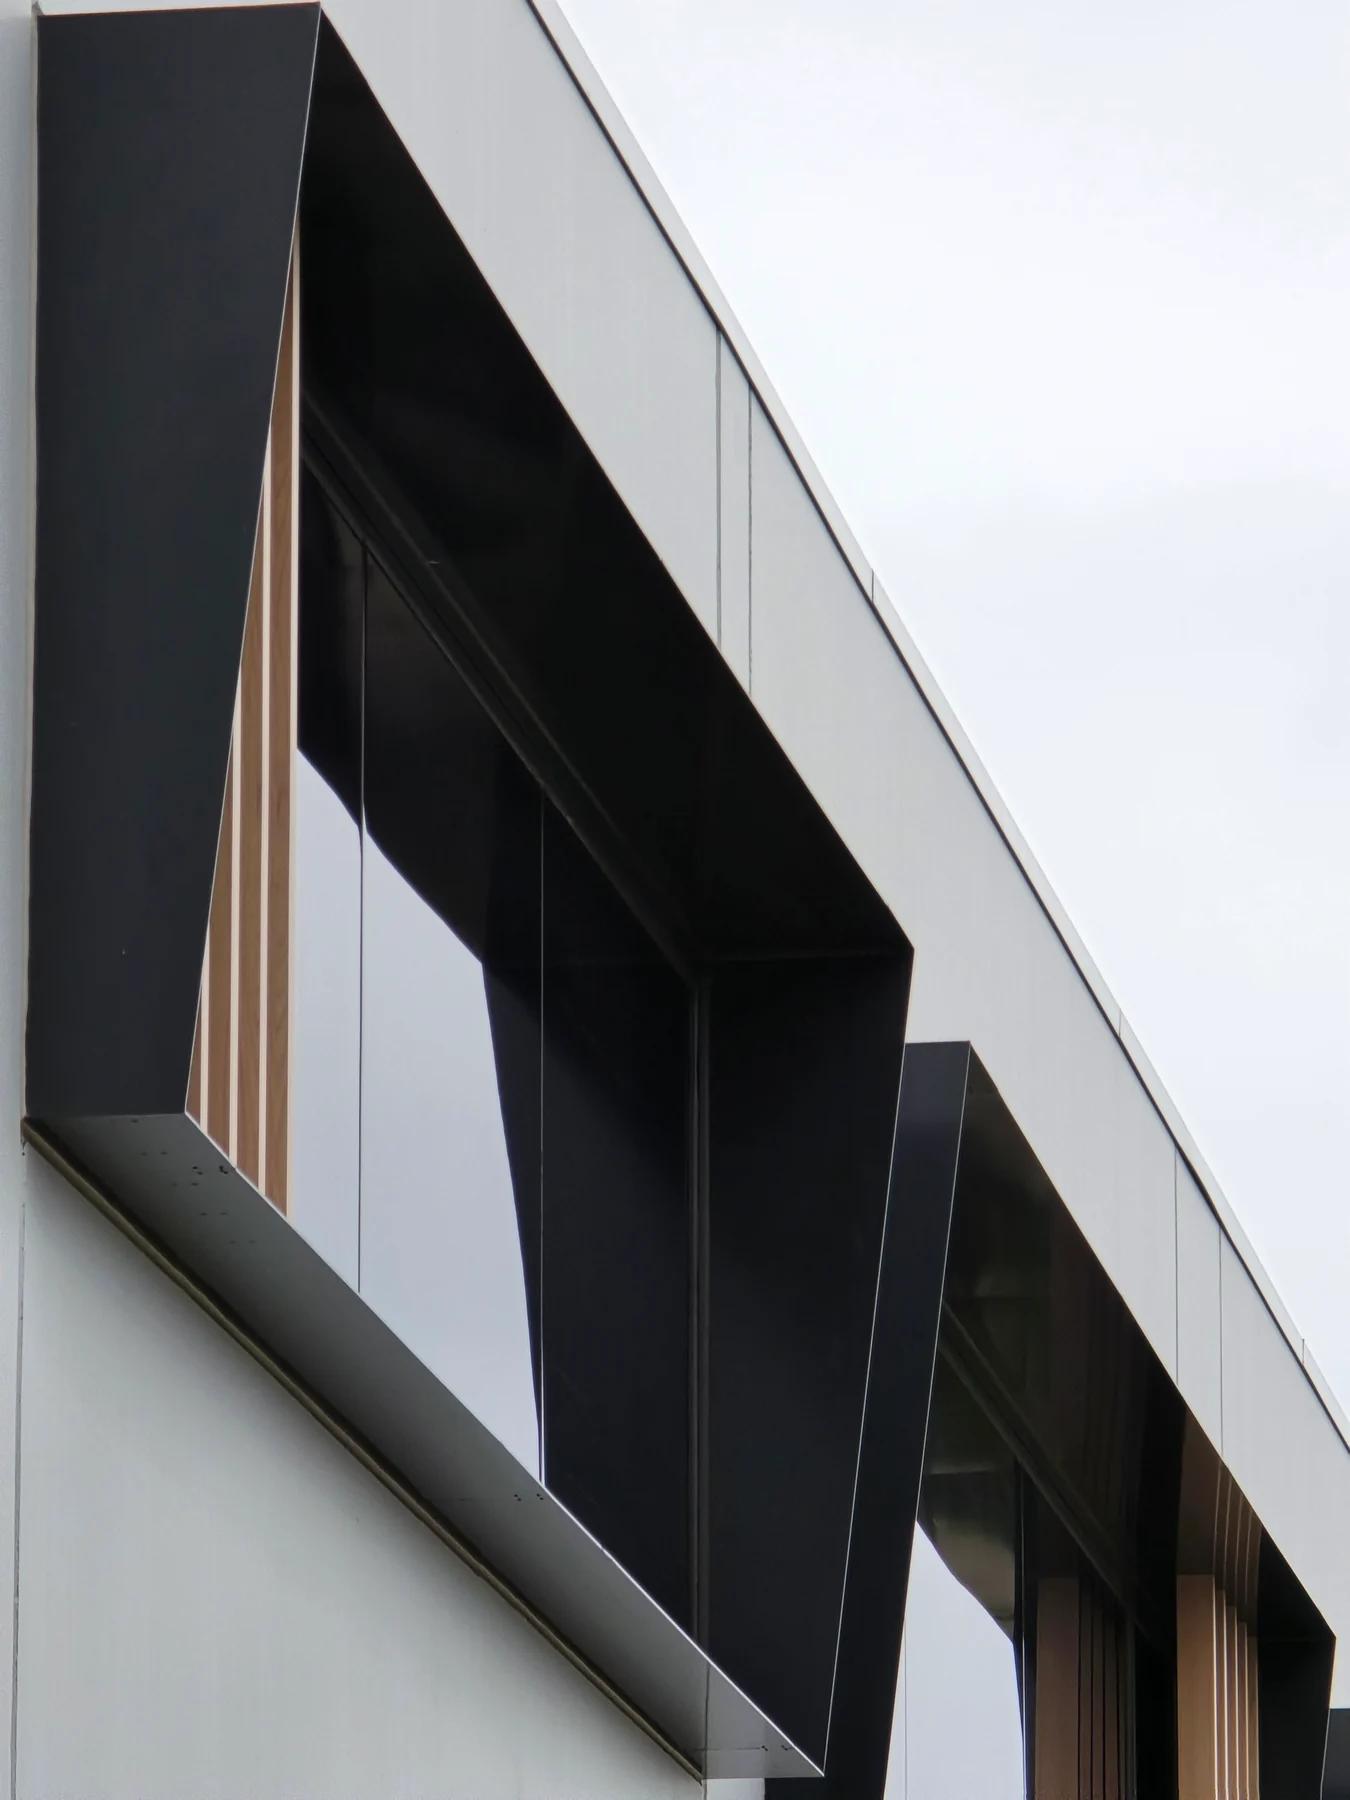
At Cheltenham, the wider façade photographs show the shrouds within repeated openings and adjacent building elements. Use that kind of whole-opening view when discussing the intended arrangement, then provide close details where the interface needs further explanation.
Carry approval, exposure and care requirements into the package
Identify the project’s building class, jurisdiction, approval pathway and applicable code requirements with the responsible design and certification team. Structural actions, fixings and any relevant fire or façade requirements need to be considered for the proposed assembly. Planning controls can also affect a projection or external appearance; a generic shroud description cannot settle those questions.
Review the finish and care requirements against the site exposure. Allow for cleaning and inspection access around the surround and its adjacent glazing, especially where repetition or height makes future access difficult. Keep the agreed finish, cleaning information and drawing references with the handover documents.
These decisions help the product remain usable in its intended setting; they do not establish a fixed service life, energy saving or property-value increase. The finish guide and sunshade guide develop the coating and solar-control questions separately.
Make an early enquiry useful without pretending it is final
An illustrative early brief might read: “Type SH-01, repeated openings on the north elevation; three-sided rectangular profile; projection to be confirmed; perimeter access available before cladding; optional upper sunshade screen under review.” Attach the elevation and section that support those statements.
That brief identifies what is known and the decisions still to be made. It does not invent an anchor, nominate an unsupported product code or present an assumed dimension as measured. As the design develops, retain the type mark and update the revision so the quotation and drawings can be reconciled.
Include the project location and intended delivery stages when sending the schedule. Modushield can be supplied Australia-wide; fully welded shrouds are supplied within Victoria, subject to project review. With the opening information and supply context together, Environ can review the relevant system and identify what else is needed.
Reference desk
Sources and further reading
Primary guidance and resources for the decisions discussed in this article. Check the edition and requirements that apply to your project.